

If you started your blog on WordPress.com because it was free, but now you want to move over to WordPress.org, you need to know how to do this. WordPress.com is great, but it doesn’t allow you to do as much as WordPress.org allows. With WordPress.com, you cannot install plugins, a custom theme and really monetize your blog in the same ways as you can with WordPress.org.
What Should you do First?
Before you decide to move your blog from WordPress.com to WordPress.org, you will need to find a good hosting company, such as ITX Design. You will also need your own domain name. You can get a free domain name with a shared hosting package from ITX Design for less than $5 per month. However, if you’re site already has a custom domain name, you won’t need a new one.
Before you take the time to move your WordPress.com blog to an ITX Design hosting package and WordPress.org, it’s important to know that the technical support staff will do this for you free of charge. However, if you like to learn, you can follow the steps below to do it yourself.
How to Move Your WordPress.com Blog to WordPress.org
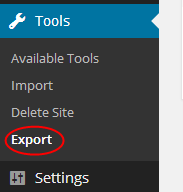
Start by logging into your WordPress.com account. Next, go to your blog’s dashboard and click on the Export button found in the Tools menu.
On the next page, you will have the option to choose the free or the guided transfer.
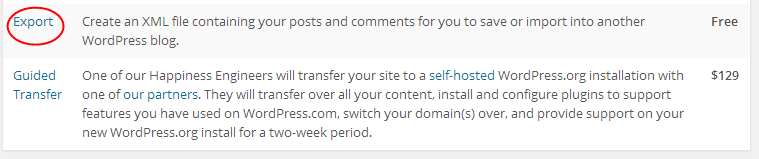
Choose the free option by clicking on the “export” link. Now you can select what you want to export. You will want to choose the “All Content” option and click the “Download Export File” button.

How to Set Up WordPress.org
Once you have exported the file necessary for moving your blog, you will need to set up WordPress.org on your new hosting account. You can access WordPress.org by logging into your cPanel and clicking on the Fantastico logo. From here, you can set up WordPress.org on your domain name and get the “Admin” area necessary to allow you to set it up.
You don’t have to set up your theme, plugins and other customizations before importing the file from WordPress.com. Instead, you can simply log into your WordPress Dashboard, go to Tools >> Import and select “WordPress” from the menu.

From this section, you will be able to install the WordPress Importer Plugin. Once this is installed and activated, you can access the plugin to upload your WordPress.com XML file.
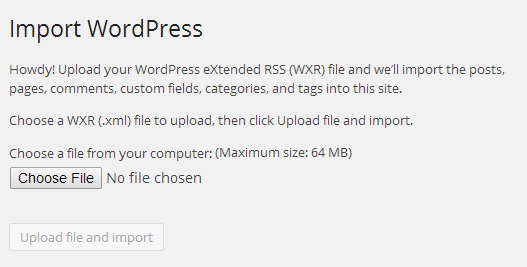
Just find the file you downloaded and click the “Upload and Import file” button. You will be given the option to select a new user for the content or assign a current user.
If the file is over 2MB in size, you may need to contact the support of your hosting company to have the temporary limit changed until you’re done with the import.
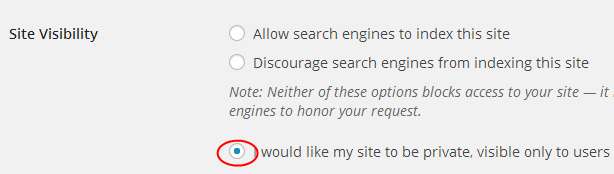
After you have completed the import and everything looks good, you will want to change the WordPress.com blog to private. This is done by logging into your WordPress.com account and going to Settings >> Reading. Here, you can click the option that says, “I would like my site to be private, visible only to users….” found under the “Site Visibility” section.
Make sure, if you have a following, you let everybody know where your blog is going. This will help to ensure you don’t lose any of your followers.
Preserving your SEO Throughout the Move
If you’ve been writing for quite some time, you may want to use a 301 header to redirect your users to the new WordPress.org blog. This will help to preserve your search engine rankings, as well.
With WordPress.com, this is a paid upgrade for $13 per year. It’s well worth it, if you have a following and traffic going to your WordPress.com blog. However, if you don’t have any traffic or followers, you may not need to worry about this option.
Now you know how to move your WordPress.com blog to WordPress.org. Start by choosing a shared hosting account from ITX Design. Once you have your account set up, you can either move your blog on your own or contact the technical support team to have it done for you.
