

Adding a Watermark to all of the images you use within your WordPress website is very helpful. This will help artists and photographers protect their original work and keep others from stealing it without permission. Here’s the easiest way to add a watermark to your images.
Using the Easy Watermark Plugin for WordPress

With the Easy Watermark WordPress Plugin, you can add a watermark to your images very easily. Simply install the plugin and access it from the Settings>>Easy Watermark.
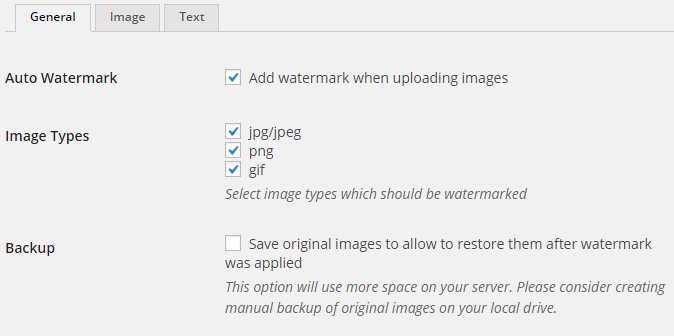
This section has three tabs you can use to change the settings. The general tap provides you with the option to automatically add your watermark to all images used on your WordPress website.

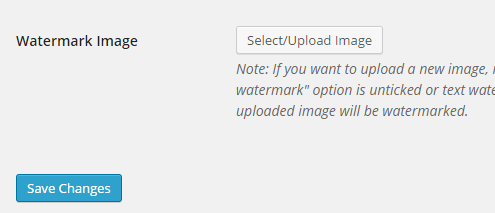
The image tab will allow you to upload an image to use as your watermark. Just click the “Select/Upload Image” button and find the file on your computer.
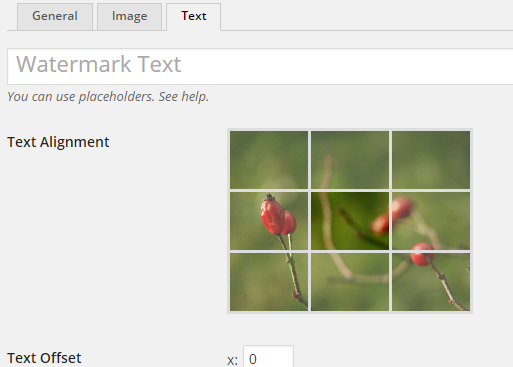
You will also be able to adjust the alignment of the image once you upload it.
With the text tab, you can add text as a watermark to your images, as well. This can easily be done by choosing the text and setting the different options with this tab.
How to Add a Watermark to Old Images
Along with setting this plugin up to automatically add your watermark to new images, you can automatically add it to any old images. This is done by going to Media>>Easy Watermark.
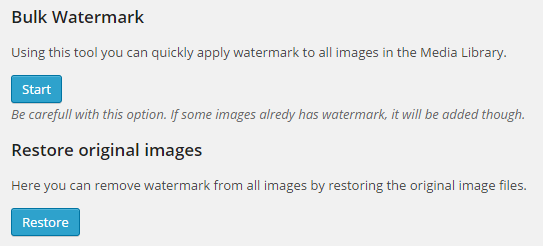
Use the Bulk Watermark tool and you can add a watermark to all of your old images. This is reversible with the “Restore” option if you decide you want the original image files back.
This can also be done manually from the images within the Media Library of your WordPress website.
If you want to add a watermark to your images and protect your original work, the Easy Watermark plugin is the fastest way to do this. Just download it, install it and you will be all set.
