
Keeping your WordPress database safe and organized is quite important. It holds all the information for your site and should be named in a way to make it easy to keep track of everything.
When a new WordPress database is created, you often get a default name, such as db_wordpress123. However, changing it to db_mysite can help you keep everything organized. This is even more important if you run multiple WordPress sites.
If you need to change your WordPress database name, it can be done in less than 10 minutes. Here are a few easy steps to make this change.
Editing the Database
The first step is to edit the database. Start by logging into your cPanel and finding the phpMyAdmin option.

Find the database you want to work with on the left side of the menu and click on it. Then, select this option and click the “Operations” tab.

From this menu, you will be able to rename your database. The name can include anything you want, as long as you only use letters and numbers.
After you choose the name, click the “Go” button. You will be given a pop-up to accept the change and a new database will be created.
Changing the wp-config.php File
After you have created a new name for your database, you will need to edit the wp-config.php file. This is found within the file manager in cPanel
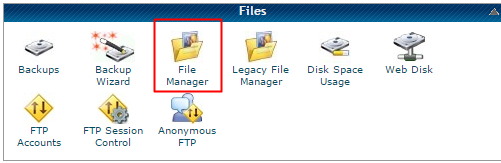
It’s in the root folder of your WordPress website.
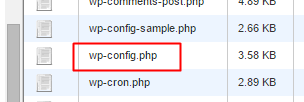
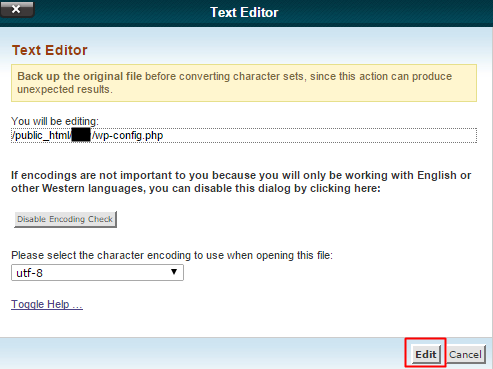
Once you find the file, right click and select “Edit.” You may be given a pop-up. If so, click the “Edit” button and you will be taken to the page to edit your code for this file.
Now, you will be looking for the code that says:
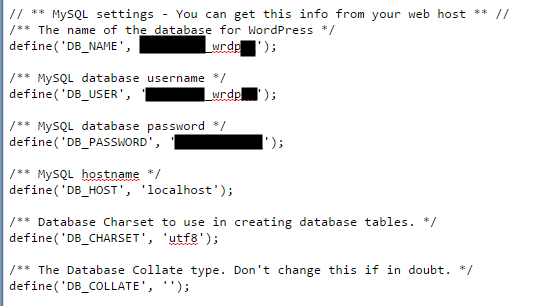
It’s often found very close to the top of the code.
Now, you will need to find the define(‘DB_NAME’, ‘your_db’); option. Here, you will need to replace your_db (which is the current name of the database) with the new name you chose in step one. Make sure to save the file and you’re all done with this step.
Setting up the Database User
The last thing you need to do is click on MySQL Databases in cPanel.

Here you will see a Databases section and you want scroll down until you fine the “Add a User to a Database” section.

You will need to add the user currently assigned to your WordPress site to the new database. If you don’t know what the user is, you can find it in the wp-config.php file from the line labeled with DB_USER.
Now, select the new database from the drop down box and click the “Add” button. You want to select “All Privileges” on the next page.

Then, just click the “Make Changes” button.
Now, all you should have to do is reactivate all your plugins and you’re good to go. Visit or site and make sure it’s working and you will now be more organized and a bit safer.
