
We already covered the first three sub-sections found under the Appearance tab in WordPress. You can find those by reading Part One of this WordPress Tutorial, here.
In this second part to our guide to the Appearance tab in WordPress, we will be covering the Menus, Header, Background and Editor sub-sections. It’s important to note that the sub-sections under the Appearance tab may be a bit different for you. It depends on which theme you’re using. Some will remain the same, but your theme may provide more specific sub-sections to use.
The Menus Sub-Section in WordPress
When you first go to Appearance >> Menus, you will see a section that looks like this:
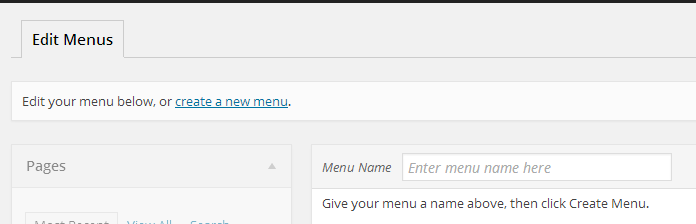
This section of WordPress will allow you to create custom menus, which you can use in your widgets, footer, as your main menu or anywhere else your theme will allow. You can learn how to create a custom menu with our WordPress Tutorial, here.
The Header Sub-Section in WordPress
The Header sub-section will allow you to do a few different things with your website header. This is the areas that will allow you to add a custom header image, change the text color and edit a few other sections within your header.
Depending on the theme you’re using, you will be given a suggested size for your custom header image and it’s found in this section.

If you plan to create your own image or have somebody do it for you, it’s best to follow the size suggestion for your theme.
Uploading your custom header image is very easy. Just click the “Choose File” button and find the image on your computer. Then, click the “Upload” button.
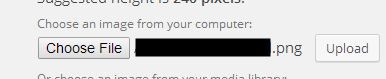
After you upload the image, you will be able to crop it and publish the image as your new header.
This section will also allow you to choose the text color for any text in your head. You can also turn the option to show the header text on or off with the checkbox.
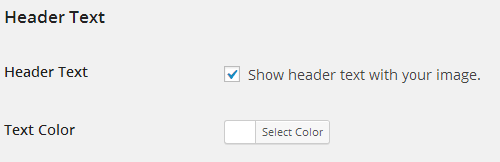
Make sure you save your changes, after editing anything within the header section. Just click the “Save Changes” button at the bottom of the page.
The Background Sub-Section in WordPress
The Background of your WordPress website can be changed by adding a background image or a custom color. This is done by going to Appearance >> Background.
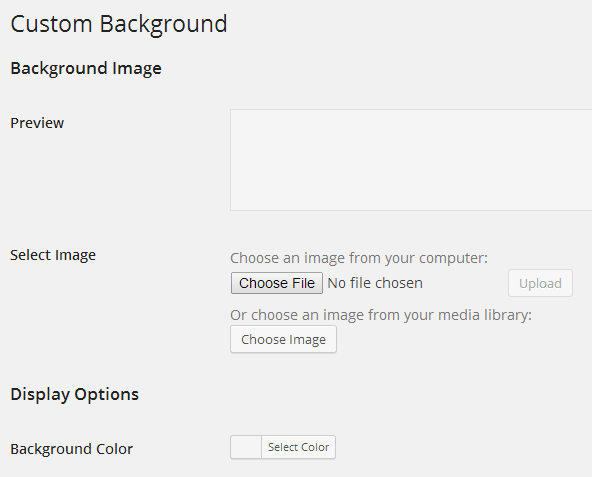
You can upload a custom image for your background here or change the color. Just click the “Choose File” button to find the right image for your background. Make sure it’s a larger image or it will just repeat itself, by default.
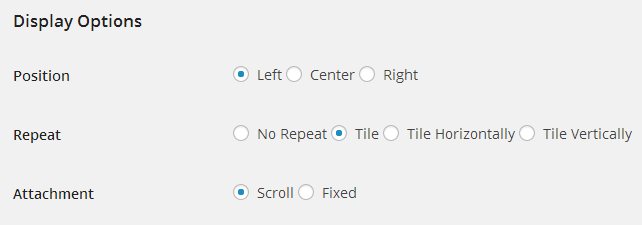
You will be able to adjust the options for your background image, once uploaded, however.
If you just want to use one solid color, you can choose the right color for your WordPress website background with the “Background Color” option.
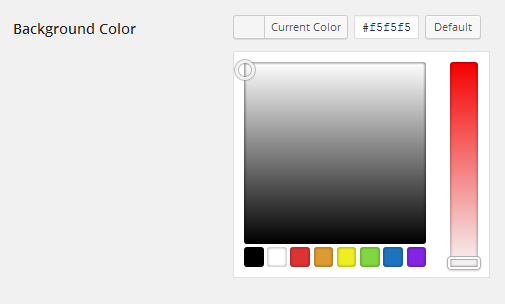
Once you’re happy with the background of your site, just click the “Save Changes” button.
The Editor Sub-Section in WordPress
The final sub-section found under the Appearance tab is the Editor section. This is the most confusing for beginners because this is the section you can use to adjust any code for the different parts of your WordPress website.
When you go to Appearance >> Editor, you will see a list of templates on the right side of the section.
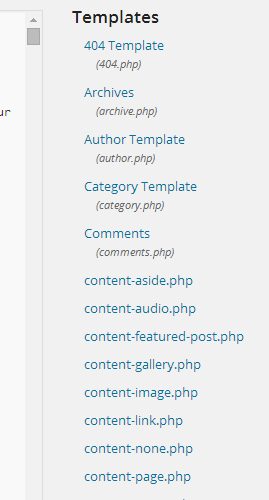
These templates will vary depending on your theme. Each one contains the code for a specific section of your WordPress website.
You can edit the code of each section, when necessary, from this section within your WordPress dashboard. However, it’s recommended that beginners leave this section alone, unless they are using a WordPress Tutorial that explains how to make the proper changes.
Whenever you need to change the code of a specific template, it’s a good idea to copy the current code into a text editor and save it. If you make a mistake, you can always replace the code with the old code you saved and default back to where you started.
Now you have a full guide to the Appearance tab within the WordPress dashboard. Make sure to bookmark this post and part one of this tutorial for future reference.
