The appearance tab in WordPress contains many sub-sections. For this reason, we will be splitting this WordPress tutorial into two parts. The first part will cover the sub-sections called Themes, Customize and Widgets. We will cover the rest of the sub-sections in the second part of this tutorial.
The Themes Section in WordPress
You will find the Themes section under Appearance within your WordPress dashboard. This is the first sub-section of the Appearance tab and includes all your uploaded themes.
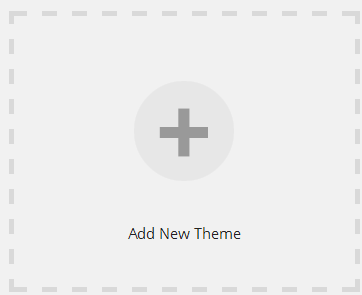
WordPress comes, by default, with the Twenty Twelve, Twenty Thirteen and Twenty Fourteen themes. These are all great, but most WordPress users prefer to use their own theme. If you want to upload a free or premium theme, you can do so by going to Appearance >> Themes. Then, just click the “Add New” link at the top or the bit “+” sign in the Themes section.

Once you’ve clicked one of these two links, you will be able to search through the featured, popular and latest themes by clicking on those links.

You can also search by typing a keyword into the search box. Of course, if you’ve already found your theme and you have a .zip folder, you can upload it by clicking the “Upload Theme” button at the top of this page.
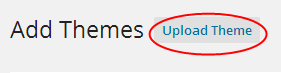
After clicking this link, just click the “Choose File” button and find the .zip folder for your theme. Just make sure to activate the theme after installing it and you will be all set.
What is the Customize Sub-Section of the Appearance Tab in WordPress?
The Customize sub-section allows you to make many changes to your website. It may have differences from one theme to another, but you can typically make changes to the following:
- Site Title & Tagline
- Colors
- Header Image
- Background Image
- Navigation
- Static Front Page
- Widgets/Sidebars
Once you go to Appearance >> Customize, you will exit the WordPress dashboard and see a page that looks like this:

At any time, you can get back to the WordPress dashboard by clicking the “Close” button in the top left corner.
All of the changes you can make are listed in the left sidebar of the customize section. You can enter into any of the sections to make changes by clicking the dropdown arrow for the section.
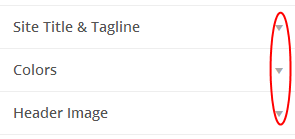
For example, if you click the dropdown arrow for the “Colors” section, you will get a dropdown menu that looks like this:
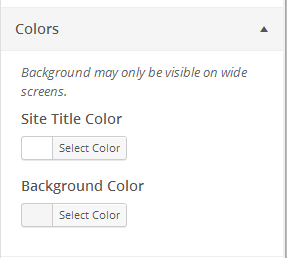
Now, you can select a new color for the site title or the background of your site. All of the other dropdown menus will give you similar options for each of the sections of your site.
Once you’ve made all your changes, you can click the “Save & Publish” button at the top of the page. If you make a mistake, you can always click the “Cancel” button to undo the changes you’ve made.
Understanding the Widgets Section in WordPress
Adding a widget to your sidebar is a very important part of customizing your WordPress website. This is done by going to the Appearance >> Widgets section in your WordPress dashboard. Here, you will find a list of widgets you can add to your sidebar. Some themes will even allow you to add widgets to the header, footer and other sections of your website.

Whether you want to add a custom menu, your recent blog posts or any other type of widget, you will do it from this section. Many of the plugins you may decide to use will also add widgets you can use, within this section.
The widget section of WordPress is a drag and drop section. Simply drag the widget you want to use to the section of your website where you’d like it to appear and drop it into the box below the title of the section. Once you’ve placed the widget in the right section, you can use the dropdown arrow to edit the options included with the widget.

Every widget is a little different and will give you different options. Some provide many options for customization, while others don’t.
Now, you have a basic understanding of the first three sub-sections found under the Appearance tab within WordPress. Make sure to check out Part Two of this Beginner’s Guide to the Appearance Tab in WordPress, for information on the remaining sections.
