
Sometimes an event timeline is the perfect addition to your website. It’s actually really easy to do on WordPress and it will add a lot to the user’s interactive experience. Timelines are capable of being added without any need to change the WordPress theme too.
Your timeline will appear as a vertical image on your website where you can display the years of progress from start to finish. Here is a look at who should use a timeline post in WordPress, how to add one, and how to display the final product.
Who benefits from the event timeline feature?
The visual representation of time on your WordPress page is perfect for anyone that needs to show a timeline of events visually. You can display it with images, video, text, and other forms of content to make it interactive for the user and attractive to look at.
It’s a popular concept for companies that want to show off their history from where they began as a small company with a few employees to the present with all of the growth they’ve seen. It’s not just for the big companies either; personal site owners like to use it for their blog page or “about” page too. A travel photographer may love this feature for showing off photographs in a vertical timeline of a journey in progress. Event coordinators may want to show off a timeline on their blog to show the event taking place live or to talk about past events.
How do I get a timeline?

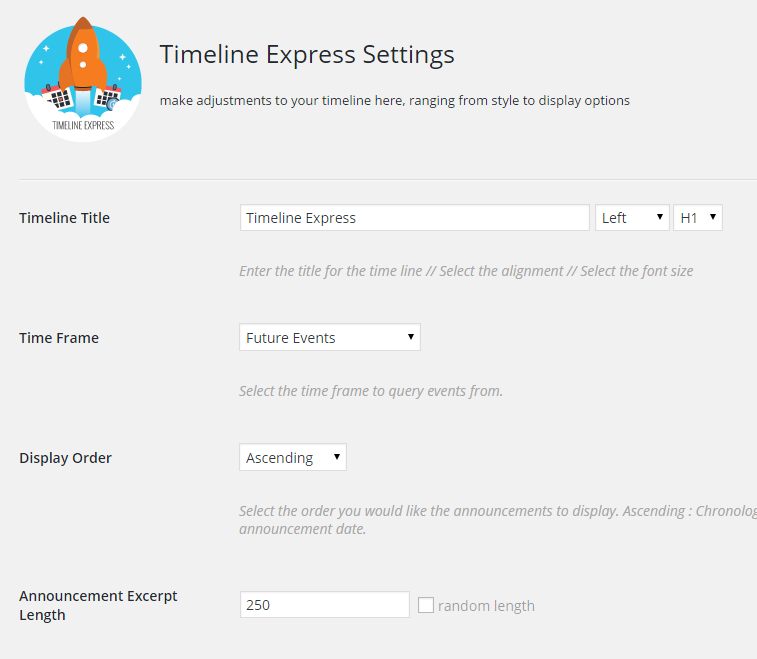
You can get a timeline to display something about an event or history by getting the plugin called “Timeline Express.” It needs to be installed and activated. Once you do this, you’ll need to visit Timeline Express where it says “Add New Announcement” which allows you to add your first event or announcement.

You’ll get options such as an area to add more information, to choose a color, to enter the date, and to include an image. The plugin comes with great fonts by using Font Awesome already built-in to the program. Decide if you’d like to add an announcement image used as the banner and then edit the details of the announcement with information or adding videos.
You can display it on your timeline by publishing the final product and continuing to repeat the process for each new announcement you’d like to include. Display it on your website by creating a new page in WordPress, giving it a title, adding the shortcode [timeline-express] in post editor, and clicking the publish button.
Add an event timeline to your WordPress to enhance your site even further.
